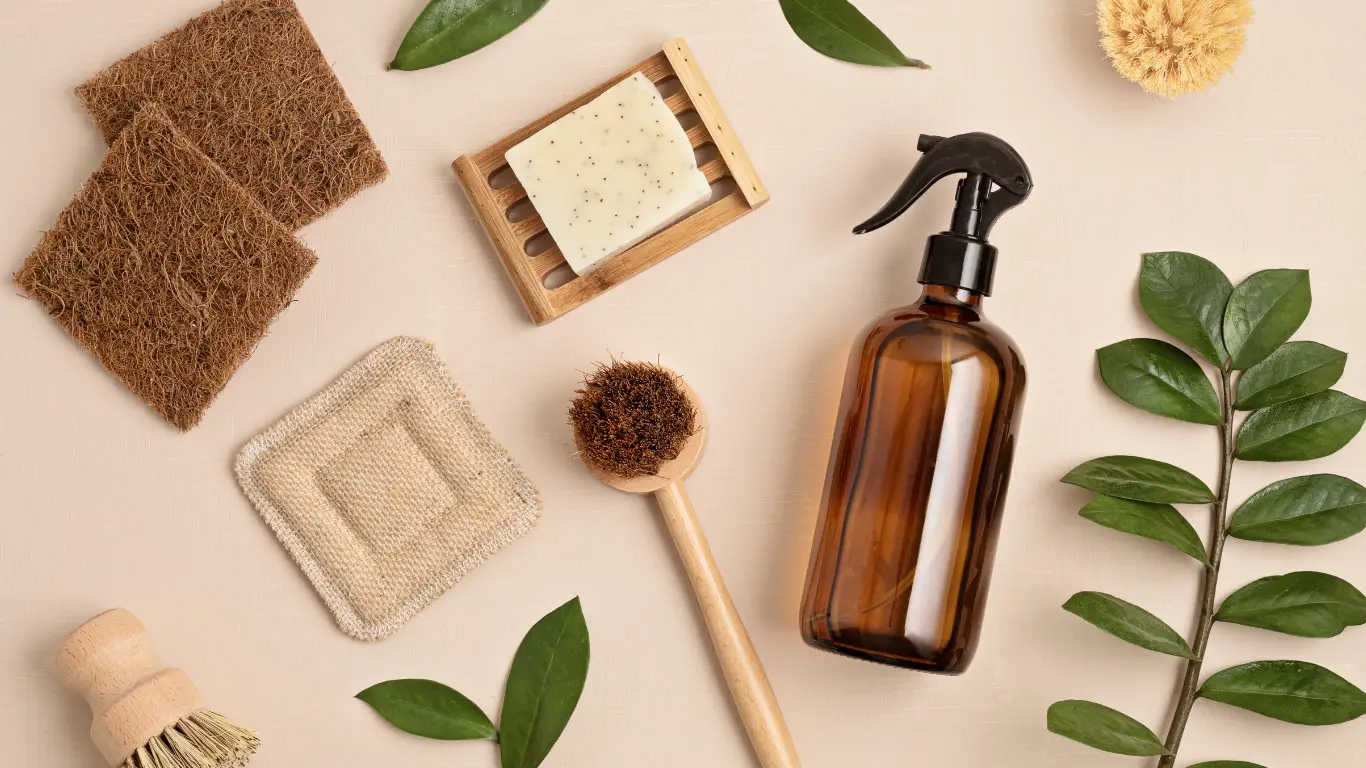
Plastic is woven into nearly every corner of the modern kitchen—cutting boards, storage containers, spatulas, water pitchers, mixing bowls, and even the lining of canned goods. The problem isn't plastic's convenience; it's that many plastic products leach chemicals—BPA, phthalates, styrene, and now microplastics—directly into your food and water, especially when heated, scratched, or exposed to acidic ingredients. If you've decided it's time to detox kitchen plastic, the good news is that you don't need to throw everything out on a single Saturday afternoon.
A systematic, room-by-room approach lets you prioritize the highest-exposure items first and spread costs over time. This guide walks you through exactly that: what to tackle first, what safer materials to choose, and which specific kitchen zones deserve the most urgent attention. For a broader overview of the entire kitchen ecosystem, the Non-Toxic Kitchen Complete Guide is the ideal companion resource.
Why Plastic in the Kitchen Is a Bigger Deal Than You Think
Not all kitchen plastics are equal, but nearly all of them carry some level of concern. Heat, dishwasher cycles, knife scratches, and contact with fatty or acidic foods accelerate chemical migration. The toxic buildup effect explains why even small, routine exposures add up over years of daily cooking. And because the kitchen is where you prepare and store virtually everything you eat, it's the single highest-leverage room to address first.
For a detailed breakdown of what's actually happening inside those plastic containers, see Are Plastic Food Containers Safe? (BPA & Microplastics). This article focuses on the practical swap plan rather than repeating that chemistry—so let's get into the checklist.

Step 1: Audit What You Have (15 Minutes)
Before buying anything, walk through your kitchen and pull out every plastic item. Sort them into three piles:
- High priority — items that touch food directly and are heated or scratched regularly (plastic cutting boards, plastic cooking utensils, plastic food storage containers, plastic wrap)
- Medium priority — items that contact food but aren't heated (mixing bowls, colanders, serving spoons, plastic water pitchers)
- Lower priority — items that rarely or never touch food (drawer organizers, cabinet shelf liners, plastic handles on tools)
Start replacing from the top of the list. This keeps your budget focused where the health impact is greatest.
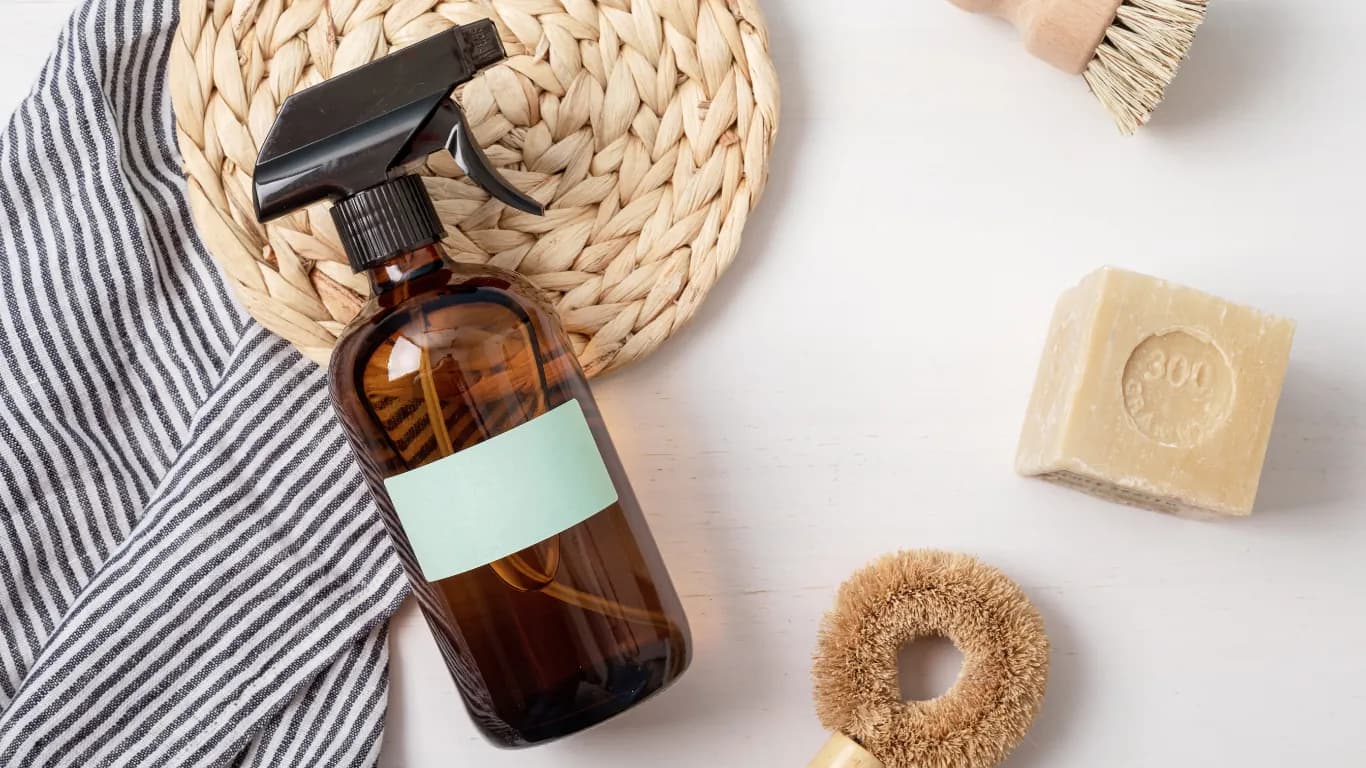
Step 2: Swap Food Storage Containers First
Food storage is the most impactful place to start because leftovers often sit in containers for days—sometimes reheated directly in the same vessel. Glass is the gold-standard replacement: non-porous, dishwasher-safe, and completely inert. Stainless steel is excellent for dry goods and lunches. For a curated, tested list of options, see Best Glass Food Storage Containers (Plastic-Free).
Quick swap rules:
- Never microwave food in plastic—transfer to a ceramic plate or glass dish first.
- Replace lids that are cracked or heavily scratched; these shed the most microplastics.
- Use glass mason jars for pantry staples like grains, nuts, and spices.
Step 3: Replace Cutting Boards and Cooking Utensils
Plastic cutting boards are one of the most underestimated sources of microplastic ingestion. A 2023 study estimated that cutting on a plastic board could release millions of plastic particles into food per year. Swap to:
- Wood or bamboo for most chopping tasks
- Tempered glass or composite wood fiber boards if you prefer a non-porous surface for raw meat
Cooking utensils—spatulas, spoons, ladles—that touch hot food in a hot pan are similarly high priority. Silicone, wood, and stainless steel are all safer alternatives. Look for 100% food-grade silicone (no fillers) or untreated hardwood.
Step 4: Address Your Cookware
Cookware deserves its own deep dive. If you're using nonstick pans, Is Nonstick Cookware Toxic? (PFAS & Teflon Explained) covers the chemistry in full detail. For tested alternatives, Best PFAS-Free Nonstick Pans and Best Non-Toxic Cookware are your go-to resources. The short version: cast iron, stainless steel, and high-quality ceramic are your safest bets—none involve plastic coatings.
For baking specifically, see Best Non-Toxic Bakeware for silicone vs. glass vs. metal comparisons.
Step 5: Filter Your Water—and Ditch the Plastic Pitcher
Tap water can carry contaminants, but storing it in plastic pitchers introduces a second problem. Choose a water filter with a glass or stainless carafe, or install an under-sink system. Best Non-Toxic Water Filter for Home breaks down the best options at every price point.

Step 6: The Kitchen Plastics Swap Table
Use this reference to guide your purchases. Safer materials are listed in order of preference.
| Plastic Item to Replace | Best Safer Material | Second Choice |
|---|---|---|
| Food storage containers | Glass (borosilicate) | Stainless steel |
| Cutting board | End-grain hardwood | Bamboo |
| Cooking utensils (spatulas, spoons) | Food-grade silicone | Hardwood |
| Water pitcher / carafe | Glass | Stainless steel |
| Mixing bowls | Stainless steel | Glass |
| Colander / strainer | Stainless steel | Silicone |
| Plastic wrap / cling film | Beeswax wraps | Silicone stretch lids |
| Kids' plates and cups | Stainless steel | Tempered glass |
| Bakeware (molds, pans) | Aluminized steel | Borosilicate glass |
| Dish drying rack | Stainless steel | Bamboo |
For families with young children, Best Non-Toxic Kids Plates & Utensils covers age-appropriate options that are both safe and durable.
Step 7: Tackle Plastic Wrap and Bags
Single-use plastic wrap and zip-lock bags are easy wins. Swap to:
- Silicone stretch lids — reusable, fit most bowl sizes, dishwasher-safe
- Beeswax wraps — ideal for cheese, fruit, and bread; not suitable for raw meat
- Stainless steel containers — eliminate the need for wrapping altogether
- Reusable silicone bags — a direct swap for zip-lock freezer bags
Step 8: Don't Overlook Hidden Plastics
Several kitchen items contain plastic that's easy to miss:
- Spice jars — many standard rack sets use plastic lids; transfer spices to small glass jars
- Can liners — many canned goods still use BPA-based or BPA-alternative epoxy linings; choose brands that label "BPA-free, BPS-free" or opt for jarred goods and dried alternatives
- Coffee makers — plastic water reservoirs in drip machines are in constant contact with hot water; look for machines with stainless or glass reservoirs
- Kettle interiors — choose stainless steel or glass electric kettles rather than plastic-lined models
Understanding hormone-disrupting chemicals helps explain why these hidden sources matter even at low exposure levels.
Step 9: Budget Your Swap Strategically
You don't need to replace everything at once. If cost is a real constraint, prioritize based on daily exposure and heat. Toxin-Free on a Budget offers a practical framework for deciding where your dollars make the most difference. As a general rule: hot + plastic = highest priority. Cold + plastic = lower urgency.
The Bottom Line
Detoxing kitchen plastic is one of the most effective steps you can take toward a lower-toxin home, precisely because the kitchen is where food safety and chemical exposure intersect every single day. Work the checklist from the top down: food storage, cutting boards and utensils, cookware, water filtration, and then the smaller details like wrap, bags, and hidden plastics. You don't need a perfect kitchen overnight—you need a directional plan and a willingness to swap items as they wear out or as your budget allows. Use the table above as your buying reference, and lean on the linked resources for deeper guidance on each product category. Small, consistent changes compound into a significantly cleaner kitchen over time.